Getting Started
This tutorial is intended to get you up and running with the SmartThings development platform - we’ll walk through from setup to running your own SmartApp.
SmartApps are Groovy-based programs that allow a user to tap into the capabilities of their devices to automate their lives. Think of them as the intelligence between our physical devices.
What You Need
- A SmartThings hub that has been configured. Some devices would be good too, but not required.
- Experience with some form of programming. SmartThings uses the Groovy programming language. You don’t need to be a Groovy Ninja, but some familiarity with programming is assumed.
What We Will Build
We are going to build a SmartApp that turns on a light when a door opens.
Here’s the recipe for our app: When a door opens, turn on a light. When the door closes, turn the light off.
Let’s build it!
Walkthrough
Step 1: Register a developer account
If you haven’t already, Register for a developer account
Step 2: Go the developer environment page
Head over to the developer environment page. This is where you can manage your hubs, devices, view logging, and more. We’re going to use the web-based IDE to create a SmartApp.
Step 3: Create your SmartApp
Click on the “My SmartApps” link:

This will take you to your SmartApps page, where you can view and manage your SmartApps. Press the “New SmartApp” button on the right of the page:
Give your app a name, author, and description. Set the category to “My Apps”. Then click the “Create” button.
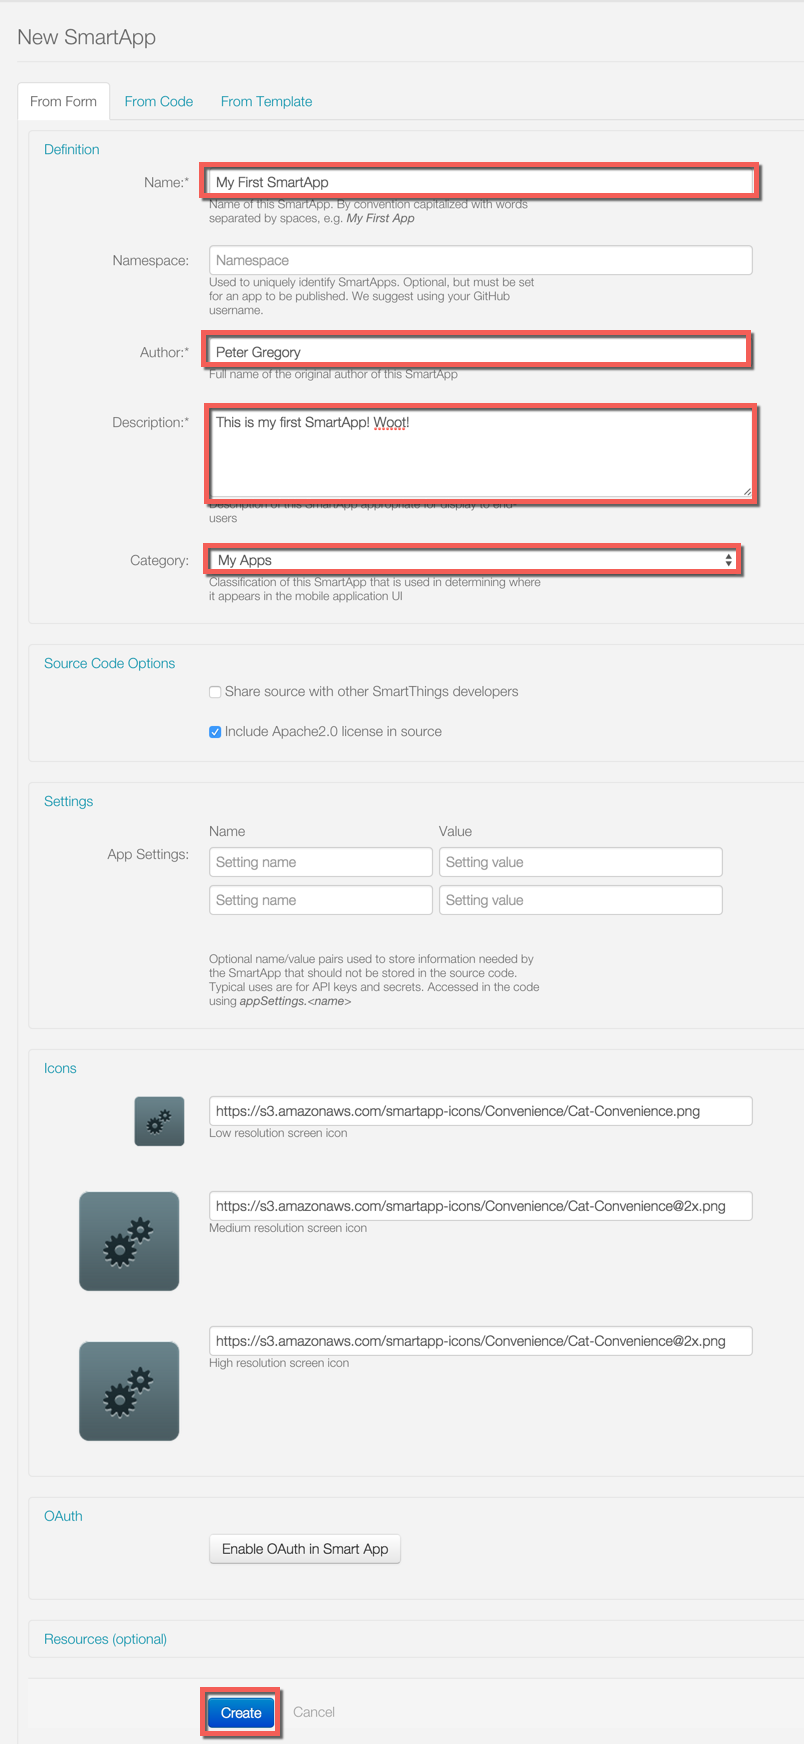
This will take you to the IDE, where you will see some code has been filled in for you.
There are three core methods that must be defined for SmartApps:
preferencesis where we configure what information we need from the user to run this app.installedis the method that is called when this app is installed. Typically this is where we subscribe to events from configured devices.updatedis the method that is called when the preferences are updated. Typically just unsubscribes and re-subscribes to events, since the preferences have changed.
Our example is going to be pretty simple - we will create an app that triggers a light to come on when a door opens.
At a high level, our app will need to:
- Gather the devices (door and light) to use for this app
- Monitor the door device - if it is opened, turn the light on. If it is closed, turn it off.
Step 4: Fill in the preferences block
The first thing we need to do is gather the sensors and switches we want this SmartApp to work with. We do this through the preferences definition.
In the IDE, replace the generated preferences block with the following:
preferences {
    // What door should this app be configured for?
    section ("When the door opens/closes...") {
        input "contact1", "capability.contactSensor",
              title: "Where?"
    }
    // What light should this app be configured for?
    section ("Turn on/off a light...") {
        input "switch1", "capability.switch"
    }
}
Click the “Save” button above the editor.
Note
When interacting with devices, SmartApps should use capabilities to ensure maximum flexibility (that’s the “capability.contactSensor” above). The available capabilities can be found on the Capabilities Reference page.
More information about preferences can be found in the Preferences and Settings section of the SmartApp Developer’s Guide.
Step 5: Subscribe to events
In the IDE, note that there is an empty initialize method defined for you. This method is called from both the installed and updated methods.
This is where we will subscribe to the device(s) we want to monitor. In our case, we want to know if the door opens or closes.
Replace the initialize method with this:
def initialize() {
    subscribe(contact1, "contact", contactHandler)
}
Note the arguments to the subscribe method. The first argument, “contact1”, corresponds to the name in the preferences input for the contact sensor. This tells the SmartApp executor what input we are subscribing to. The second parameter, “contact”, is what value of the sensor we want to listen for. In this case, we use “contact” to listen to all value changes (open or closed). The third parameter, “contactHandler”, is the name of a method to call when the sensor has a state change. Let’s define that next!
(don’t forget to click the “Save” button!)
Note
More information about events and subscriptions can be found in the Events and Subscriptions section of the SmartApp Developer’s Guide.
Step 6: Define the event handler
Add the following code to the bottom of your SmartApp:
// event handlers are passed the event itself
def contactHandler(evt) {
    log.debug "$evt.value"

    // The contactSensor capability can be either "open" or "closed"
    // If it's "open", turn on the light!
    // If it's "closed" turn the light off.
    if (evt.value == "open") {
        switch1.on();
    } else if (evt.value == "closed") {
        switch1.off();
    }
}
Click the “Save” button, and let’s try it out!
Step 7: Run it in the simulator
To the right of the editor in the IDE, you should see a “Location” field:
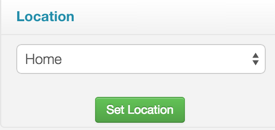
Select the location of your hub (if you have only one hub, it will be selected by default), and click “Set Location”.
Now you can pick some devices if you have them, or create some virtual devices.
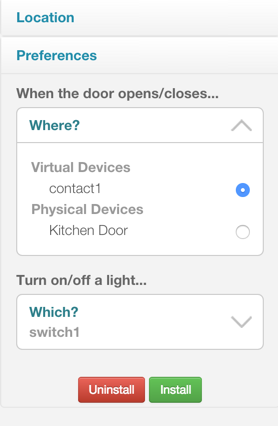
Once you’ve picked some devices, click “Install” to launch the simulator:
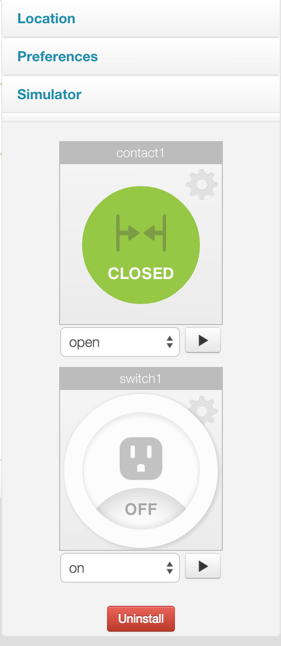
Try changing the contact sensor from closed to open - you should see the switch in the simulator turn on. If you used a real switch, you should see the light actually turn on or off!
Also note the log statements in the log console. Logging is extremely useful for debugging purposes.
Bonus Step: Publish your SmartApp (for you only)
We’ve run our app in the simulator, which is a great way to test as we develop. But we can also publish our app so we can use it from our smart phone, just like other SmartApps. Let’s walk through those steps.
On top of the IDE, there’s a “Publish” button right next to the Save button. Click it, and select “For me”:
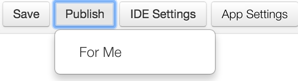
You should see a message indicating your app published successfully.
On your mobile phone, launch the SmartThings app, and go to the Marketplace. Select SmartApps, scroll to the bottom, and press My Apps. You should see your SmartApp here - select it, and you can install it just any other SmartApp!
Next Steps
This tutorial has shown you how to set up a developer account, use the IDE to create a simple SmartApp, use the simulator to test your SmartApp, and publish your SmartApp to your mobile phone.
In addition to using this documentation, the best way to learn is by looking at existing code and writing your own. In the IDE, there are several templates that you can review. These are great sources for learning SmartThings development! In fact, the SmartApp we built borrows heavily from (OK, it’s a total clone) the “Let There Be Light” SmartApp.